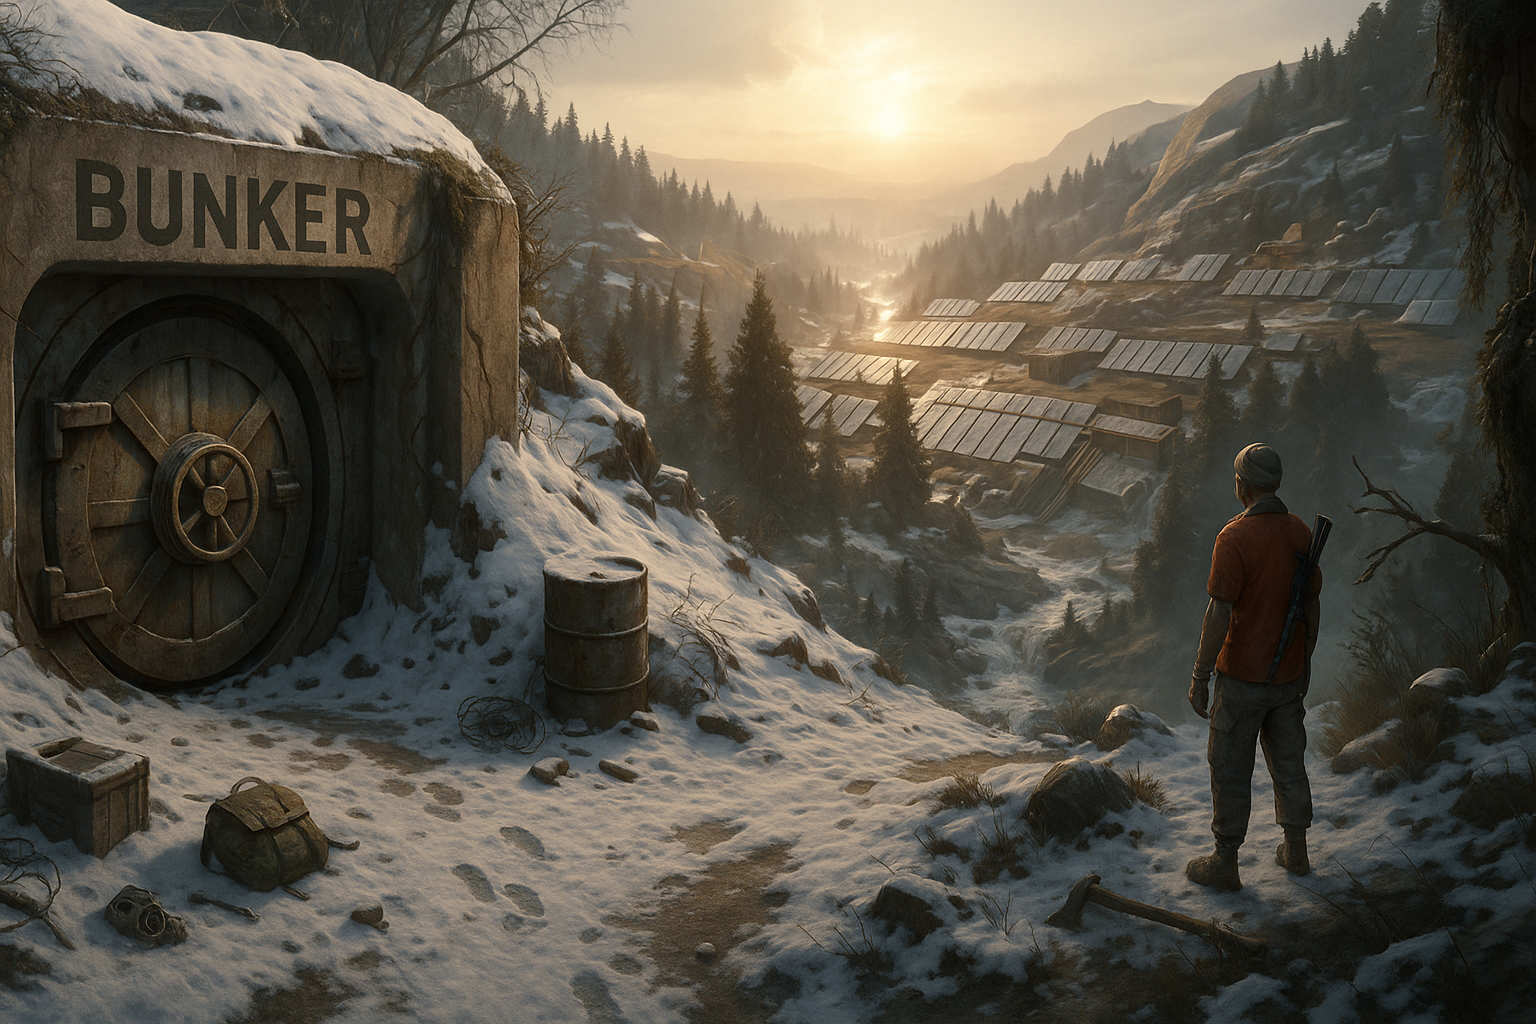
Bunker Types & Overview
SCUM features three distinct types of bunkers, each with different characteristics, difficulty levels, and loot quality. Understanding these differences is crucial for planning your raids effectively.
Regular Bunkers
Description: Standard military installations marked on the map, typically guarded by mechs on the surface and puppets inside.
- Difficulty: Medium
- Loot Quality: Good
- Enemy Types: Mechs, standard puppets
- Best For: Mid-game players looking for military gear
Abandoned Bunkers
Description: Complex, multi-level facilities with high-tier loot and dangerous enemies. Require fuses to power doors and progress through different sections.
- Difficulty: Hard to Very Hard
- Loot Quality: Excellent
- Enemy Types: Puppets, Razors, Mr. Brenner
- Best For: End-game players with high-tier weapons
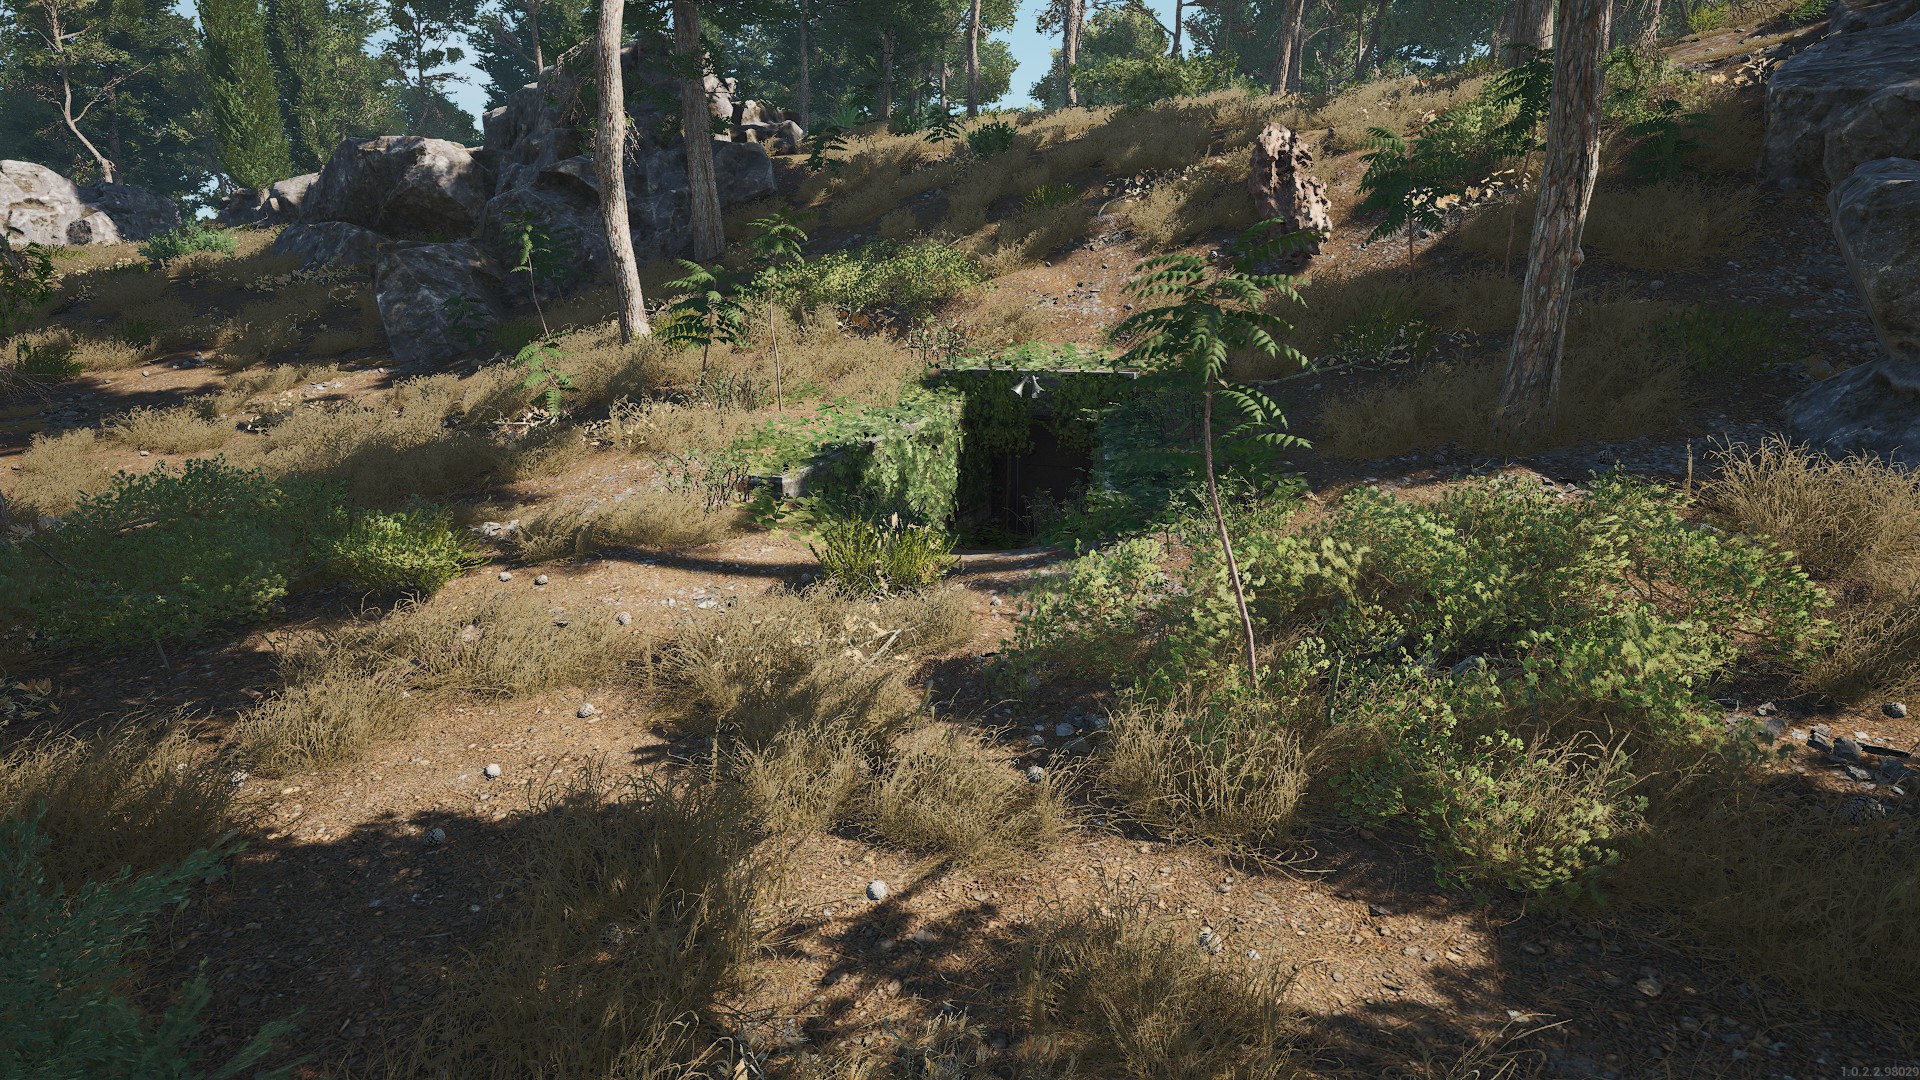
Hidden Bunkers
Description: Secret facilities with concealed entrances not marked on the map. Often contain unique loot that cannot be found elsewhere.
- Difficulty: Easy to Medium
- Loot Quality: Good to Very Good
- Enemy Types: Possible Puppet/NPC Encounters
- Best For: Solo players and those who enjoy exploration
Important Notes
- Bunker loot respawns after server restarts or approximately every 30-60 minutes (server dependent)
- Puppets inside bunkers are generally more dangerous than those found in the open world
- Bunkers are popular PvP hotspots - always be prepared for player encounters
- Abandoned bunkers require multiple fuses to fully explore - bring at least 5-6 fuses
Regular Bunkers
Regular bunkers are standard military installations that are marked on the map. They are guarded by mechs on the surface and contain various types of puppets inside. These bunkers are good sources of military gear, weapons, and ammunition.
Select a Bunker
D3 - Standard Bunker
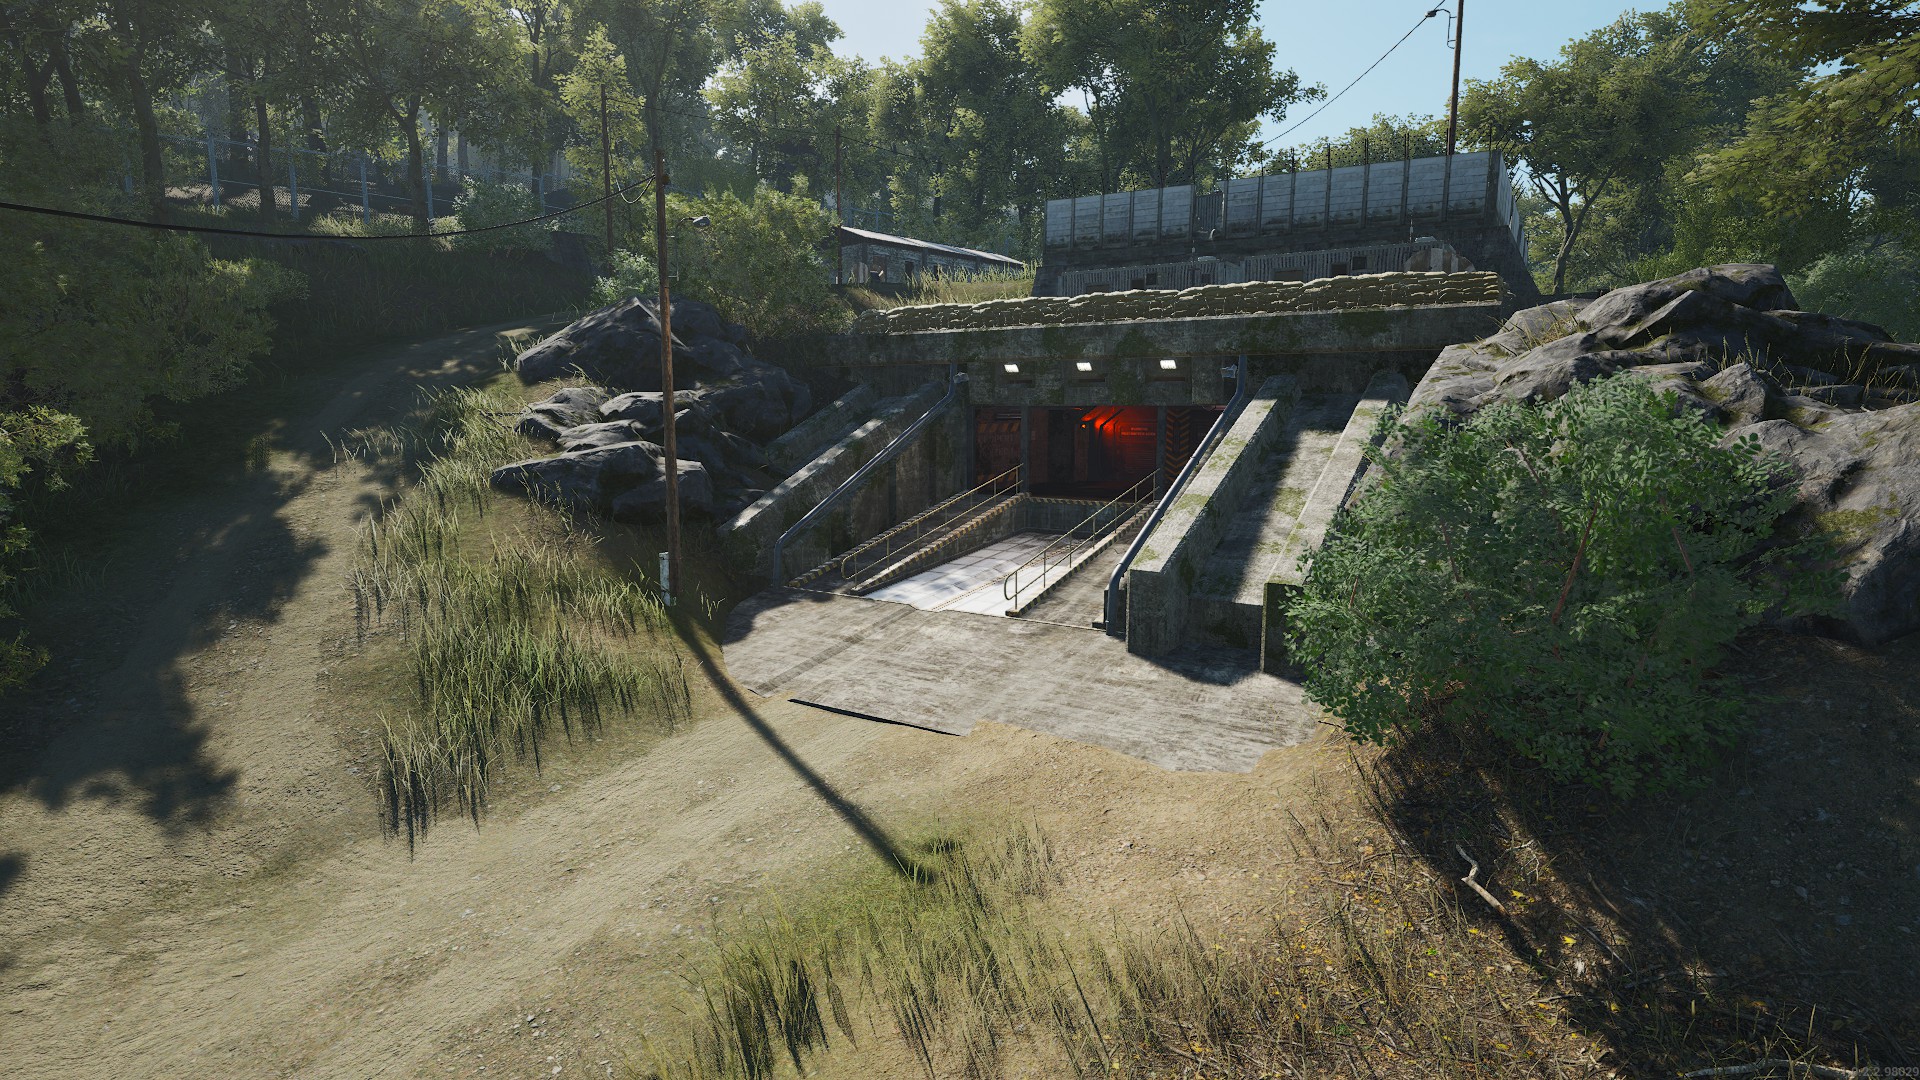
Location
Located in sector D3, appears on interactive map as standard bunker.
Coordinates: X: 456900, Y: 345600
Enemies
-
Sentries2-3x (Surface)
-
Puppets10-15x (Interior)
Potential Loot
| Item | Rarity | Quantity |
|---|---|---|
| Military Weapons | Uncommon | 3-5 |
| Ammunition | Common | 40-60 |
| Military Gear | Uncommon | 3-6 |
| Rare Attachments | Rare | 1-2 |
Tips & Strategies
- Standard military layout with predictable rooms and corridors
- Watch for armored puppets in the deeper sections
- Good mid-game loot source for military equipment
Abandoned Bunkers
Abandoned bunkers are endgame underground complexes that provide the most valuable, high-tier loot in the game. These complex facilities are multi-level structures requiring fuses to power doors and progress through different sections. While they offer the best resources on the island, they are guarded by some of the most dangerous enemies in SCUM.
Extreme Danger
Abandoned bunkers are designed for endgame players. They contain powerful enemies like Razors and the unkillable Mr. Brenner. Do not attempt to explore these bunkers without high-tier weapons, ample ammunition, and medical supplies.
Select a Bunker
C4 - Abandoned Bunker
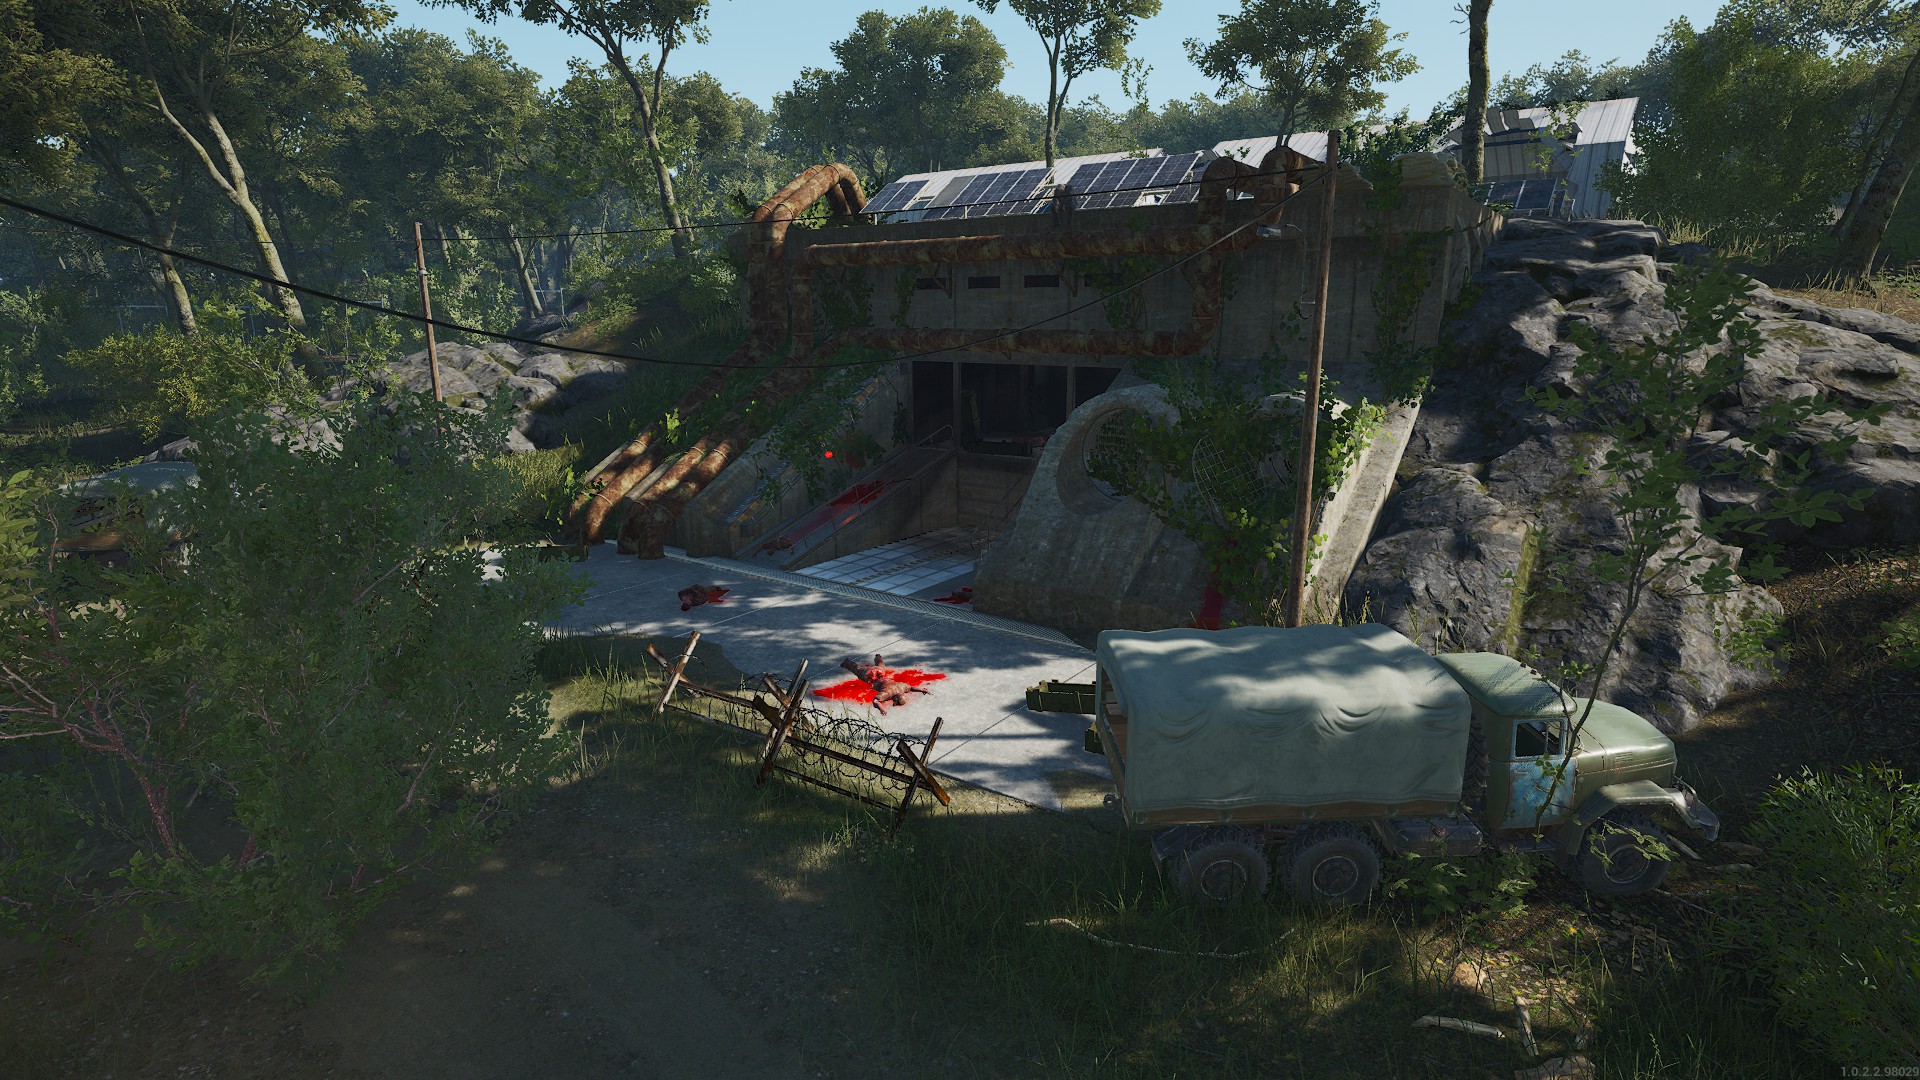
Location
Located in sector C4, abandoned military complex.
Coordinates: X: 345700, Y: 456800
Enemies
-
Puppets15-20x (Various Levels)
-
Razors4-6x (From Vents)
-
Mr. Brenner1x (Lower Level)
Potential Loot
| Item | Rarity | Location |
|---|---|---|
| High-Tier Military Weapons | Epic | Armory |
| Precision Rifles | Epic | Armory |
| Military Explosives | Rare | Storage |
| Phoenix Tears (Blood Sample) | Legendary | From Mr. Brenner |
| Crafting Modules | Rare | Throughout Bunker |
| Advanced Medical Supplies | Uncommon | Medical Bay |
Tips & Strategies
- Bring at least 5-6 fuses to power doors throughout the bunker
- Razors emerge from vents when they hear noise - move quietly
- Bring a team to deal with Mr. Brenner - he's nearly impossible to solo
- Always have an escape route planned from each section
Puppet Types in SCUM Bunkers
Understanding the different types of puppets you'll encounter in bunkers is crucial for survival. Each type has unique behaviors, strengths, and weaknesses that require different tactical approaches.
Standard Puppets
- Appearance: Zombies dressed as prisoners or civilians (ragged clothing, torn faces)
- Behavior: Slow melee attackers, formidable when in groups
- Threat Level: Low — easy to kill, dangerous when unexpected
- Special Loot: Low drops, high on resources
Tactics
- Headshots are most effective
- Melee weapons work well against individuals
- Use doorways to funnel groups
Armored Puppets
- Appearance: Worn body armor, helmets, military outfits
- Behavior: Slower but tankier, resistant to bullets, knockback on hits
- Threat Level: Medium — additional damage/bullets/headshots required
Tactics
- Aim for the head or unarmored areas
- Use high-caliber weapons
- Maintain distance to avoid their strong melee attacks
High Threat Enemies
The following puppet types are extremely dangerous and should be approached with caution. Always have an escape route planned when dealing with these enemies.
Beepers / Exploder Puppets
- Appearance: Puppets with visible explosives strapped to their body
- Behavior: Emit a loud beeping sound when they spot you and detonate, killing themselves and damaging/destroying players, vehicles, or other puppets nearby
- Where Found: Random, but they increase in number as you progress
- Threat Level: Very High — even a single one can end a run
Tactics vs Beepers
- Kill them at range before they start beeping
- Take them out at range with suppressed shots
- NEVER let them close distance
- If indoors, retreat to avoid being caught in the explosion
Razors
- Appearance: Hunched, spider-like puppets with elongated limbs and a distinctive growth on their back
- Behavior: Extremely fast and agile, can climb walls and ceilings, emerge from vents when they detect noise
- Where Found: Primarily in abandoned bunkers, especially in ventilation systems
- Threat Level: Very High — can quickly overwhelm even well-equipped players
Tactics vs Razors
- Target the growth/baby on their back for critical damage
- Preferred Weapon is bow but if overwhelmed used a shotgun or high-caliber weapons for maximum stopping power
- Move quietly to avoid triggering their emergence from vents
- Never fight in tight corridors where they can surround you
- Use doorways to limit their approach angles
- Special Note: As everything you do makes sound typically you will want to remain as quiet as possible, there will be sound triggers that activate the razors
Mr. Brenner
- Appearance: Massive, heavily mutated humanoid who is an unsuccessful experiment by the company TEC1, which had their creation enhanced with "Phoenix tears" and other undisclosed substances
- Behavior: Extremely aggressive boss-type enemy, can open doors, and will react to forced open doors, too much noise, or if the alarm goes off
- Where Found: Lower levels of abandoned bunkers, typically in his armory
- Threat Level: Extreme — He wields a flamethrower for ranged attacks, and has highly deadly melee attacks
- Indestructible:While not completely invincible, he is extremely resilient and can only be momentarily stunned to collect blood for phoenix tear serum
Tactics vs Mr. Brenner
- Never engage alone — minimum 3-4 well-equipped players recommended
- Use high-caliber weapons and explosives for maximum damage
- Maintain distance at all costs — his melee attacks can one-shot even armored players
- Use coordinated fire from multiple angles to prevent him from focusing on one player
- Always have an escape route planned and keep doorways between you when possible
- Collect his blood sample (Phoenix Tears) after defeating him for legendary crafting materials